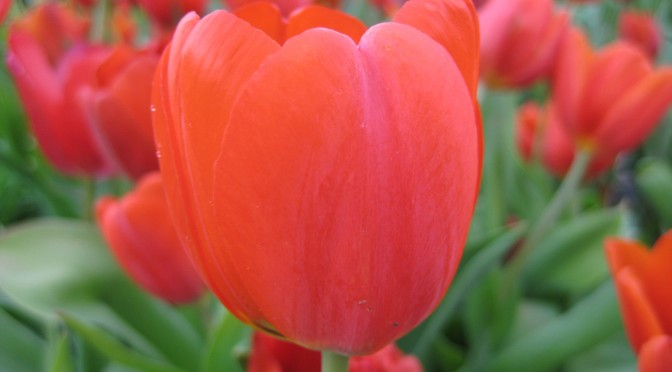
One of the simplest, least expensive, and most rewarding fall gardening activities is planting spring flowering bulbs. Although they appear to be nothing more than small, dead, brown orbs, bulbs are very much alive. They contain everything needed to survive cold winter temperatures, produce a wide array of beautiful flowers in the spring, and to return and reproduce year after year.
Bulb Selection
The key to having success with spring flowering bulbs is purchasing healthy, quality bulbs. Purchase bulbs early from a reputable source and store them in a cool, dry place that is well ventilated. In general the larger and healthier the bulb, the better flowering it will be.
Planting Tips
– Plant bulbs in the fall once night time temperatures consistently fall to between 50° F and 40° F for two weeks straight
– Plant bulbs in an area that receives full sun
– Plant bulbs in holes that are three times their height (ex. plant a 2” tall bulb in 6” deep hole).
– Plant bulbs with their tip pointing up, and their base down
– Plant small bulbs about 2” apart, and large bulbs about 6” apart
– Water the planting site well after planting
Make Planting Easier
One of the best tools I’ve ever come across for planting bulbs is the Yard Butler Bulb Auger. Just insert it into your power drill, then quickly and easily drill 1-1/4-inch wide holes to the desired depth. You’ll be done planting your bulbs in no time and your back and knees will thank you.
Bulb Life Cycle
Once planted, the bulbs roots begin to develop in the fall. During the winter, the bulbs roots continue to develop and the floral and leaf meristems (the initial emerging leaf and flower stems) start to develop. In the spring, the shoots elongate, flowering occurs, and daughter bulbs (new bulbs attached to the sides of a bulb) form. In the summer, shoots senesce, or wither, daughter bulb formation is complete, the original old bulb separates, and the new daughter bulbs may be harvested.
Forcing Bulbs
A great way to get even more enjoyment out of your bulbs is to plant a few in containers for “forcing” to create indoor flowering container plants. Forcing a bulb is simply a means of tricking the bulb into thinking it has spent a long cold winter outdoors in the ground, and that it is now spring and time to bloom.
Place 1” of gravel in a small pot. Using a light weight potting soil, place several bulbs in the soil in the pot about ½” apart. Leave the tip of the bulbs just showing above the soil. The potted bulbs now need to be stored at between 50° F and 40° F for 10 to 12 weeks to simulate winter. The vegetable drawer in your refrigerator is the perfect environment for this if you have the room. After this time, move the potted bulbs to a cool dimly lit area for a few days, and finally move them to a brightly lit area where they will bloom. Be sure to keep the bulbs slightly moist.
Favorite Varieties
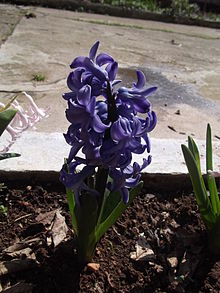 | Dutch Hyacinth (Hyacinthus orientalis) |
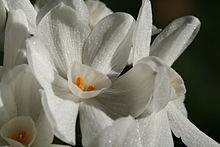 | Paperwhite (Narcissus papyraceus) |
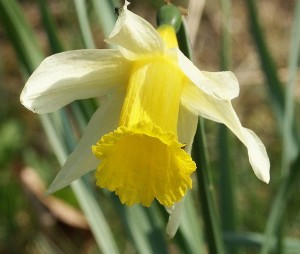 | Daffodil (Narcissus pseudonarcissus) |
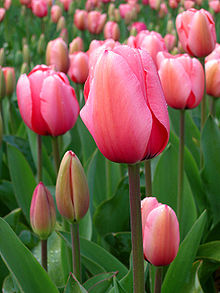 | Tulip (Tulipa gesneriana) |
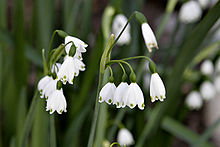 | Summer Snowflake (Leucojum aestivum) |
Summary
Spring flowering bulbs, planted in the fall, can provide a vast assortment of colors, textures, and scents in your garden for years to come. Experiment with different types and cultivars to see which ones grow best for you. Once you’ve found your favorites, dig up and share the daughter bulbs, that grow along side the original bulb, with friends and loved ones. A little time spent planting bulbs this fall will be rewarded many times over this spring, and for many springs to come. Enjoy.

